Zoom is now considered a world-class platform for video conferencing and creating webinars in the world of remote collaboration and virtual meetings. Maybe you are attending an online course, meeting up with friends and family, or hosting a business meeting; there are times you would like to keep a record of these precious moments for future purposes. With Zoom built-in recording feature, it is possible to capture your meetings and conversations. In this article, we will show you a step-by-step guide to recording a video via Zoom on Windows PC and Mac. We will also introduce you to HappyScribe, a powerful tool to improve your video recording experience.

How to Record with Zoom on a PC or Mac
To record a video via Zoom on your Windows PC or Mac, here are the steps to follow:
Step 1: Install Zoom App
To download and install Zoom on your Windows PC or Mac, go to https://zoom.us, Zoom official website, and carefully follow the instructions on the screen before installing it.
Step 2: Create Zoom Account
Once the Zoom app is installed on your PC or Mac, launch it and sign in if you have an existing account. If you don’t have an account, quickly create a new one by entering the necessary details needed.
Step 3: Host or Join Zoom Meetings
To start recording Zoom meetings, you need to host one or join a scheduled meeting when needed. Hosting a Zoom meeting is very easy; just click on the “Host a Meeting” option to start a new meeting as a Host. On the other hand, if you are joining a scheduled meeting, input the Meeting ID and click “Join” to start.
Step 4: Enable Permission for Recording
Since you are launching the Zoom app for the first time, you have the permission to enable its recording feature. Recording is always enabled by default if you are hosting a meeting. But you can’t record a meeting if you are a participant, unless you are permitted by the host. If you wish to record the meeting, click the “Participants” button in the Zoom setting. Click “More” to find your name in the list of the participants. After that, send your request to the host by clicking “Request Recording” option and the host will grant permission.
Step 5: Begin Recording
You can start recording the Zoom meeting once the host permits you. To do this, click “Record” in the Zoom control panel to begin the recording. If you need a shortcut to always begin recording, press Alt+R on your Windows PC or Crmd+Shift+R on Mac.
Step 6: Stop and Save The Recording
Once you are done recording, click “Stop Recording” or use the Alt+R, Crmd+Shift+R shortcuts on your Windows PC or Mac again. Zoom will convert the video and save it to your PC storage once the recording ends. To locate the recording file, check the Zoom folder on your Windows PC or Mac.
How HappyScribe and Its Association with Zoom Can Help You
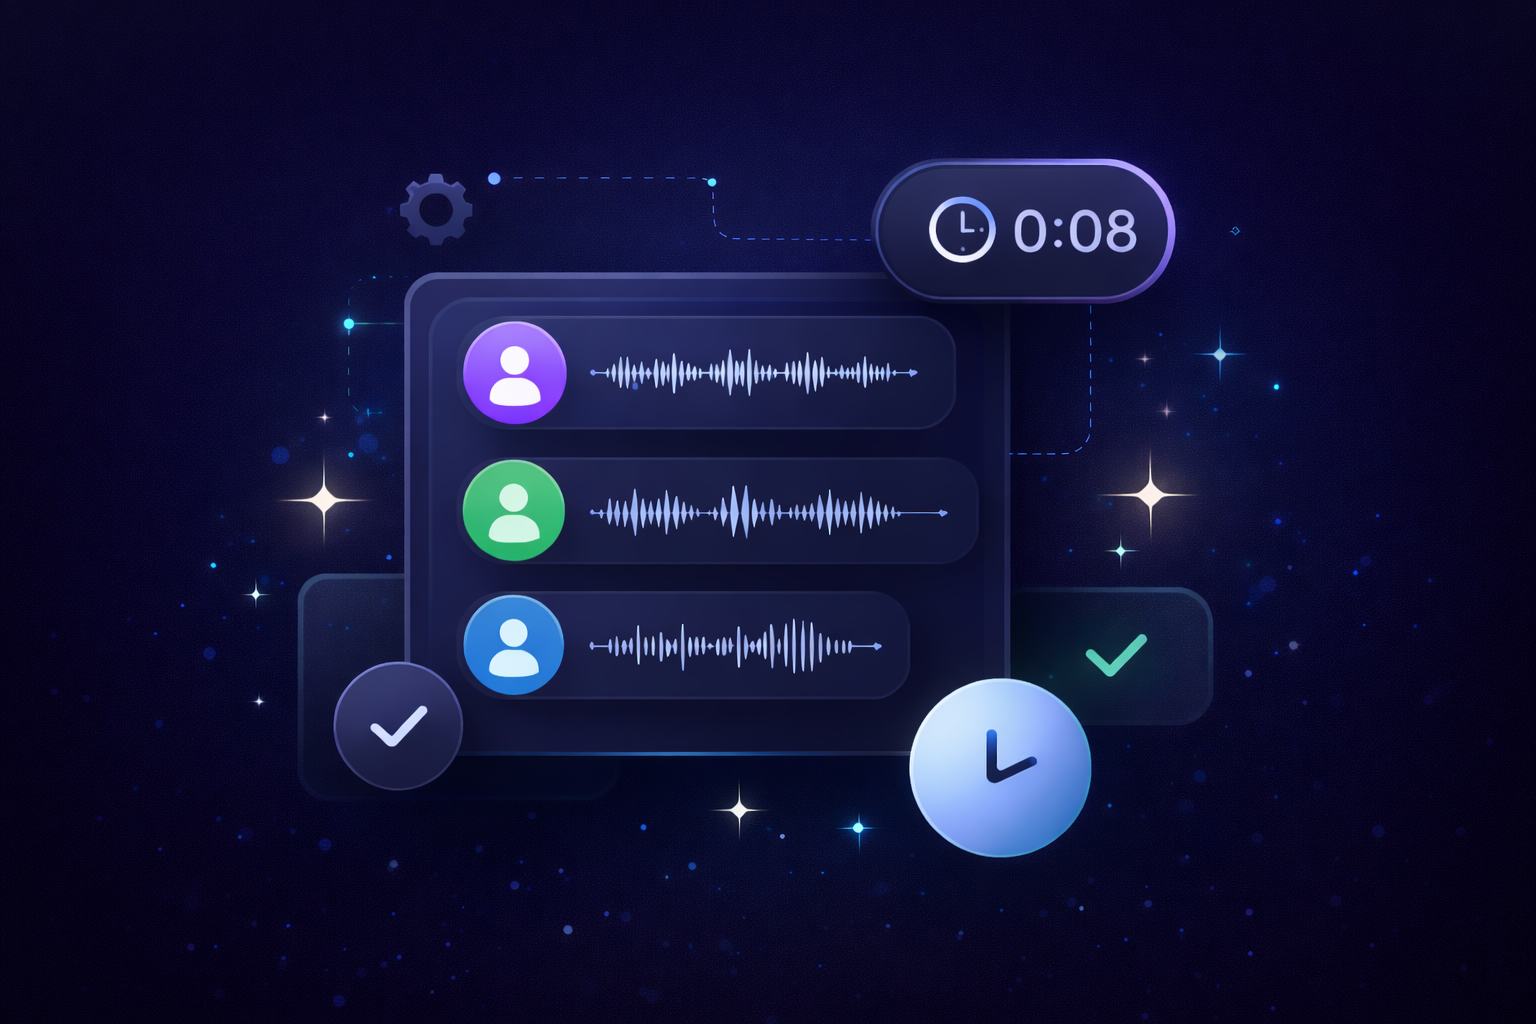
HappyScribe is a very powerful transcription and translation service that incredibly enhance your Zoom recordings, giving you a better experience. For transcribing your Zoom meetings perfectly and effectively, HappyScribe offers a user-friendly interface and advanced features. Do you need transcripts for content creation, meeting minutes, or other accessible purposes? HappyScribe can help you quickly streamline the process within a short time.
How can you associate HappyScribe with your Zoom recordings?
Here are the steps to follow:
Step 1: Record and Save The Zoom Meeting
If you want to transcribe your Zoom meeting, record it first. Then, you can save it by applying the steps explained above for Windows PC or Mac. And anytime you want to listen to the recording, check the designated Zoom folder on your PC or Mac storage.
Step 2: Upload The Recording to HappyScribe
After saving your Zoom meeting on your local storage, go to HappyScribe and log in with your details if you have an existing account. If you don’t have an account yet, you can freely create a new HappyScribe account immediately. Once your account is ready, upload the Zoom recording to the HappyScribe website for further transcribing process.
Step 3: Select Transcription Options
For transcribing your Zoom meeting, HappyScribe offers many options to meet your specific tastes. So you have a lot of transcription options to choose. To transcribe a Zoom meeting recording, select the language spoken in the meeting. Do you want an automated or manual transcription? You can choose any of these transcription methods for you Zoom meeting recording. Then, set the specific turnaround time you need for the transcription process. And wait for the result in a short time.
Step 4: Get The Transcription
Are you done customizing your transcription options? If yes, then, start the transcription process with HappyScribe. During the transcription process, you don’t need to apply any manual effort as HappyScribe is there for you to perform its magic. And in a few minutes, HappyScribe will deliver to you a correct and well-detailed transcript of your Zoom meeting recording.
Step 5: Edit and Download The Transcript
If you want to add one or two things to the transcription you get from HappyScribe, you need an editor. HappyScribe provides users with editors, allowing them to make the necessary adjustments to their transcripts. After editing, check if you are satisfied with the final result of the transcript. If you are OK with it, download the transcript in the format you prefer. There are many formats you can download your transcript. You can choose DOCX, TXT, or SRT for subtitles depending on your preference.
Recording via Zoom
Recording a video via Zoom with your Windows PC and Mac is a very simple process to take with a few simple clicks. For a seamless recording experience, you can get the necessary recording permissions whether you are a Host or participant. And to convert your Zoom recordings to correct and accessible transcripts easily, you need to utilize the associated service, HappyScribe.
Zoom recording helps users keep valuable moments and conversations during online meetings. And HappyScribe provides an accurate transcription service, thereby enhancing the recording experience.
Always remember to record any important Zoom meeting you have and utilize the power of HappyScribe for your transcription and subtitling. Why not give it a try today!

André Bastié
Hello! I'm André Bastié, the passionate CEO of HappyScribe, a leading transcription service provider that has revolutionized the way people access and interact with audio and video content. My commitment to developing innovative technology and user-friendly solutions has made HappyScribe a trusted partner for transcription and subtitling needs.
With extensive experience in the field, I've dedicated myself to creating a platform that is accurate, efficient, and accessible for a wide range of users. By incorporating artificial intelligence and natural language processing, I've developed a platform that delivers exceptional transcription accuracy while remaining cost-effective and time-efficient.