Learn how to add subtitles to Brightcove e-learning course videos using Happy Scribe, enhancing accessibility and engagement for diverse learners.
Brightcove is widely known and one of the most used video hosting and management platform. It is often employed by e-learning course developers. Incorporating subtitles into e-learning content is essential for accessibility, enhancing engagement and retention for all individual in learning stages, including those who are deaf or hard of hearing. With this write-up, we will discuss the process of adding subtitles to Brightcove e-learning course videos and why Happy Scribe is the ideal platform for subtitling Brightcove videos.
The Significance of Subtitling for E-Learning
One of the most significant advantages of uploading subtitles to your eLearning course is increased accessibility . Subtitles helps deaf, hearing-impaired, or hard-of-hearing people to fully get engrossed with your content. Subtitling, or captioning, involves adding synchronized text to videos corresponding to the audio.
This feature is crucial for e-learning materials, as it offers accessibility for individuals with disabilities. Subtitles are also beneficial for people who struggle to understand spoken language due to accents, background noise, or other factors. Moreover, subtitles can enhance retention and engagement for all learners by providing additional context and reinforcement of the content.
Another benefits of e-learning is how it offers access to a wealth of educational resources and content. Using Brightcove subtitling feature, students can access an almost endless supply of information and expertise via the internet, from online textbooks and video lessons to online forums and discussion boards. This can give the students the ability to easily grasp complicated concepts and get a more in-depth understanding of the subject matter.
Subtitling enables the simple translation of e-learning information into other languages, extending the material's reach to learners from various linguistic backgrounds. It allows individuals to be more comfortable learning in their native language and to access engaging information successfully.
With the increasing popularity of mobile learning, subtitling becomes even more crucial. Individuals learning most time have access to e-learning content apps on their smartphones in various environments, such as public places or in quiet settings where playing audio might not be ideal. Subtitles provide a convenient way to consume the content without requiring audio playback.
Steps to Add Subtitles to Brightcove Course Videos
Incorporating subtitles into Brightcove course video is an uncomplicated process that can be completed in a few easy steps:
Step 1: Generate a Caption File
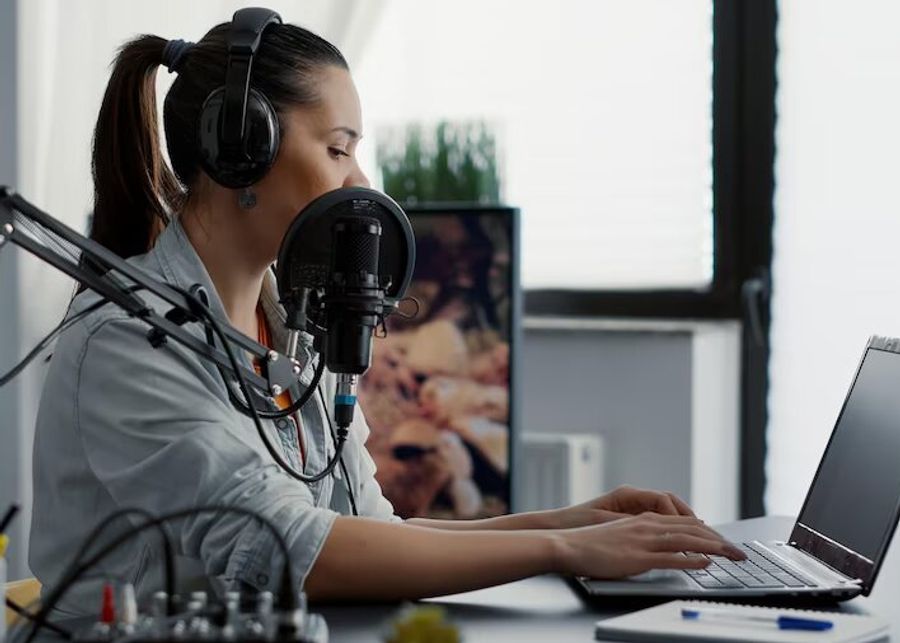
The initial step in adding subtitles to Brightcove course videos involves creating a caption file. You can do this on browsers like - Safari, Opera, Firefox, Chrome and more, along side the Brightcove player. Caption files are text files containing the transcribed text and timing data for the subtitles. Several tools are available for generating caption files, including Happy Scribe, which utilizes AI technology to quickly and accurately transcribe videos.
Step 2: Export Your Brightcove Video
Before adding subtitles to your Brightcove video, it must be exported from Brightcove. To accomplish this, navigate to your Brightcove video and select the "Download" button. Choose the desired export quality.
Step 3: Incorporate Subtitles into Your Brightcove Video
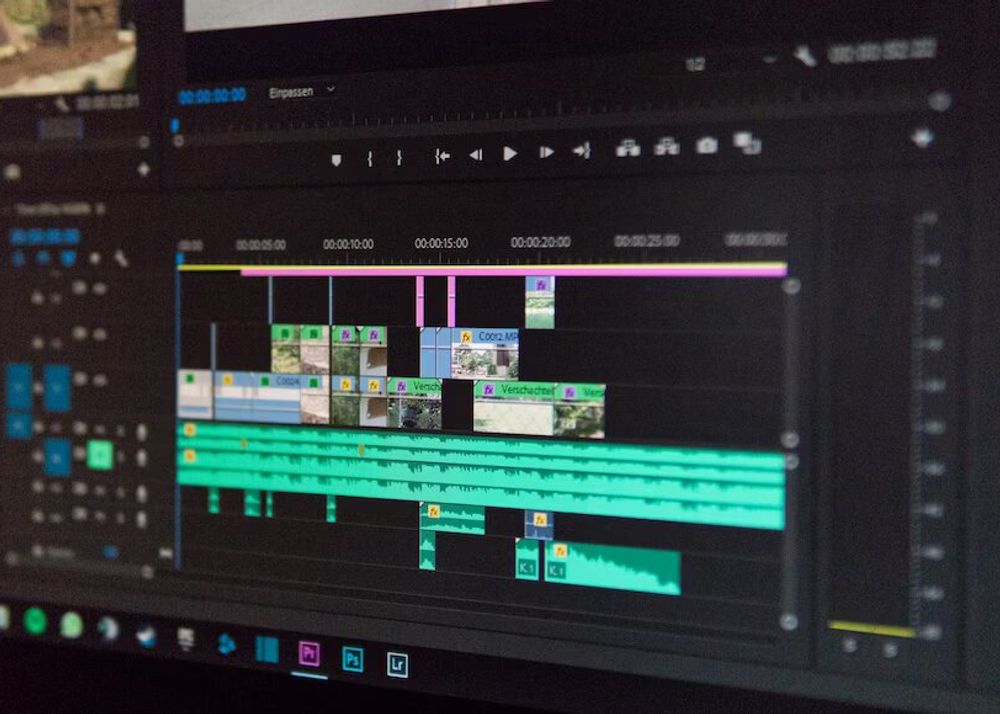
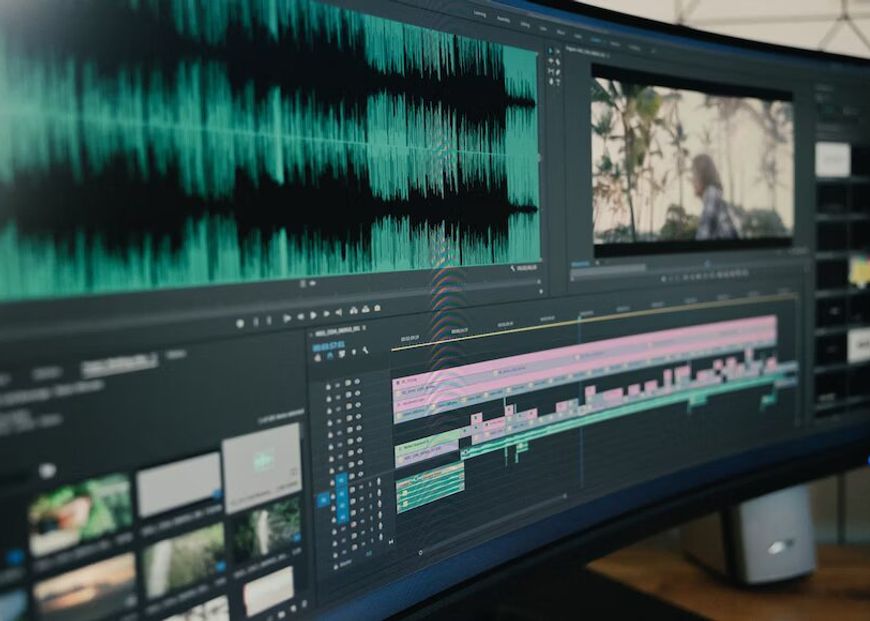
After obtaining your caption file and exporting Brightcove video, you can add subtitles using a video editing tool like Adobe Premiere or Final Cut Pro. Import your video and caption file into the editor and synchronize the captions with the audio. Adjust the appearance of your subtitles to align with your branding.
Step 4: Upload Your Subtitled Video to Brightcove
Once you have added subtitles to your Brightcove video, upload the subtitled video to Brightcove. To do this, navigate to the "Media" tab in Brightcove and select "Upload Video". Choose the subtitled video file you just edited. Make sure to double check that you are choosing the right file. Some content creators and users tend to forget and upload wrong document.
Step 5: Publish Your Video
After uploading your subtitled video to Brightcove, publish your video. Your subtitles will be available for viewers to enable or disable as needed. Remmeber to turn on the subtitling feature on your Brightcove player to access your accurate subtitles.
Happy Scribe: The Ideal Platform for Subtitling Brightcove Videos
Happy Scribe is the perfect platform for subtitling Brightcove videos due to its advanced AI technology and user-friendly interface. Happy Scribe can quickly and accurately transcribe your Brightcove videos, while its customization options enable you to tailor the subtitles to your branding. Supporting various subtitle formats, including SRT and VTT, Happy Scribe is compatible with Brightcove. Using Happy Scribe to add subtitles to your Brightcove videos is a straightforward and effective method of making your e-learning content accessible to a broader audience.
How to you use Happy Scribe to subtitle your Brightcove videos
Let's get started by simply uploading your Brightcove video to Happy Scribe. There no need to worry about file formats because Happy Scribe supports various video types, making it compatible with your Brightcove videos.
As soon s your video is uploaded, give a few minutes for Happy Scribe to work its magic using advanced speech recognition technology to automatically transcribe the audio content. This saves you a ton of time and effort compared to doing it manually.
Now it's time to make a few tweaks to perfect the transcript file. Happy Scribe provides a user-friendly editor where you can easily fine-tune the transcription. You can make corrections, add punctuation, and make sure everything is accurate. Plus, you can play the video side-by-side with the transcript, making it super easy to sync up the subtitles.
When you're happy with the transcript, it's time to generate the subtitles. Happy Scribe gives you options for different subtitle formats like SRT, VTT, and more. You can even customize the look of the subtitles by choosing font styles, sizes, and positioning that suits your needs.
Once your subtitles are all set, it's a breeze to export them from Happy Scribe and integrate them into your Brightcove videos. Brightcove is designed to seamlessly include external subtitle files, so you can ensure a smooth integration with your video content.
Creating accessible E-learning videos can be a complex task. Happy Scribe simplifies the process by offering transcription, subtitling and customizable features, ensuring an engaging learning experience for everyone.
Creating engaging e-learning content is vital. Subtitles increase accessibility and comprehension while offering flexibility. Happy Scribe facilitates this with easy transcription, editing, timing, and styling features.
Subtitling boosts social proof, reduces backlash, and enhances accessibility, bolstering online presence. This piece examines its benefits, citing French E-learning platform Skilleos as a case study.
Enhance video accessibility through outsourcing captions and subtitles, benefitting from cost-effectiveness, accuracy, and compliance with regulations.
Increasing eLearning accessibility and efficacy, transcripts are textual representations of course content, aiding student retention, searchability, catering to diverse learning styles and improving SEO.
Transcripts, students' best friends, enhance online learning through accurate note-taking, easy archiving, effective studying, and collaborative efforts, revolutionizing education in the digital age.
Captions help improve the engagement and training value of videos. Here, we break down how to create and use subtitles for employee training materials.