The overall quality of your content can be greatly affected by the quality of your sound. It’s a factor that can make or break your audience’s engagement and experience and it's also important for improving the quality of your transcription audio to text, for example. If your audio quality is poor, listeners may lose interest and switch off, regardless of how intriguing or informative your content might be. This is why the first step to improving your audio quality is understanding its importance.
High-quality audio can make or break your content. No matter where your audience is located, clear, pleasant sound enhances listener engagement and boosts your perceived professionalism. Whether you’re creating podcasts, voiceovers, interviews, or educational content, these four steps will help you capture better audio, wherever you are.
Step-by-Step Guide to Enhancing Audio Quality
Improving your audio quality starts with a few essential steps that make a big difference, whether you’re a podcaster, musician, content creator, or simply someone who wants clear, professional-sounding recordings. This practical, step-by-step guide will help you achieve high-quality sound wherever you are.
1. Record in a Quiet, Treated Space
The foundation of great audio is a quiet and acoustically treated environment. Background noise — from traffic, fans, or echoes — can easily ruin an otherwise perfect take. Choose a quiet room, close windows and doors, and reduce reflections by adding sound-absorbing materials such as carpets, curtains, rugs, cushions, or acoustic foam panels. The fewer unwanted sounds your microphone captures, the cleaner your recording will be.
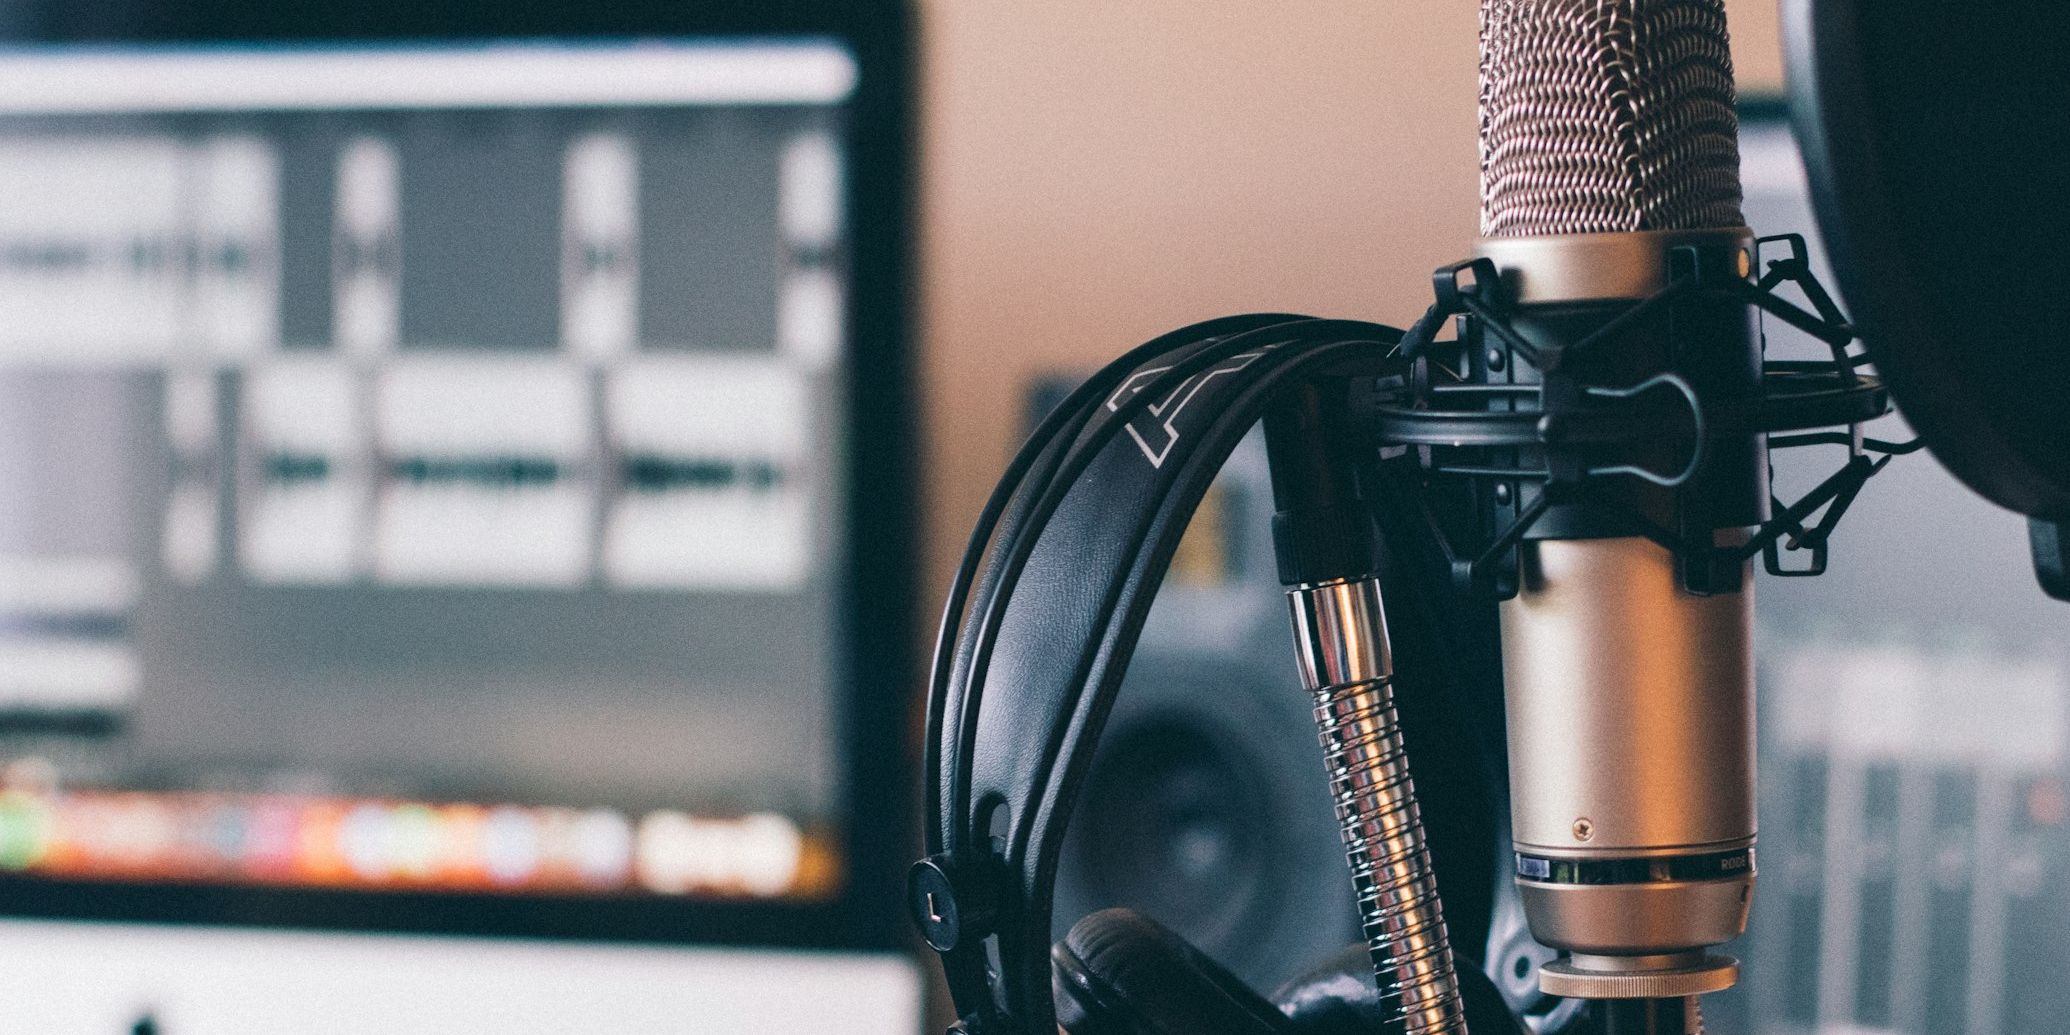
2. Use a High-Quality Microphone
Your microphone choice has a major impact on sound clarity. Built-in mics from laptops or phones are convenient, but a dedicated external microphone will capture a fuller range of frequencies and reduce distortion. A good USB or XLR microphone offers better detail and warmth, helping your voice or instrument sound rich and natural.
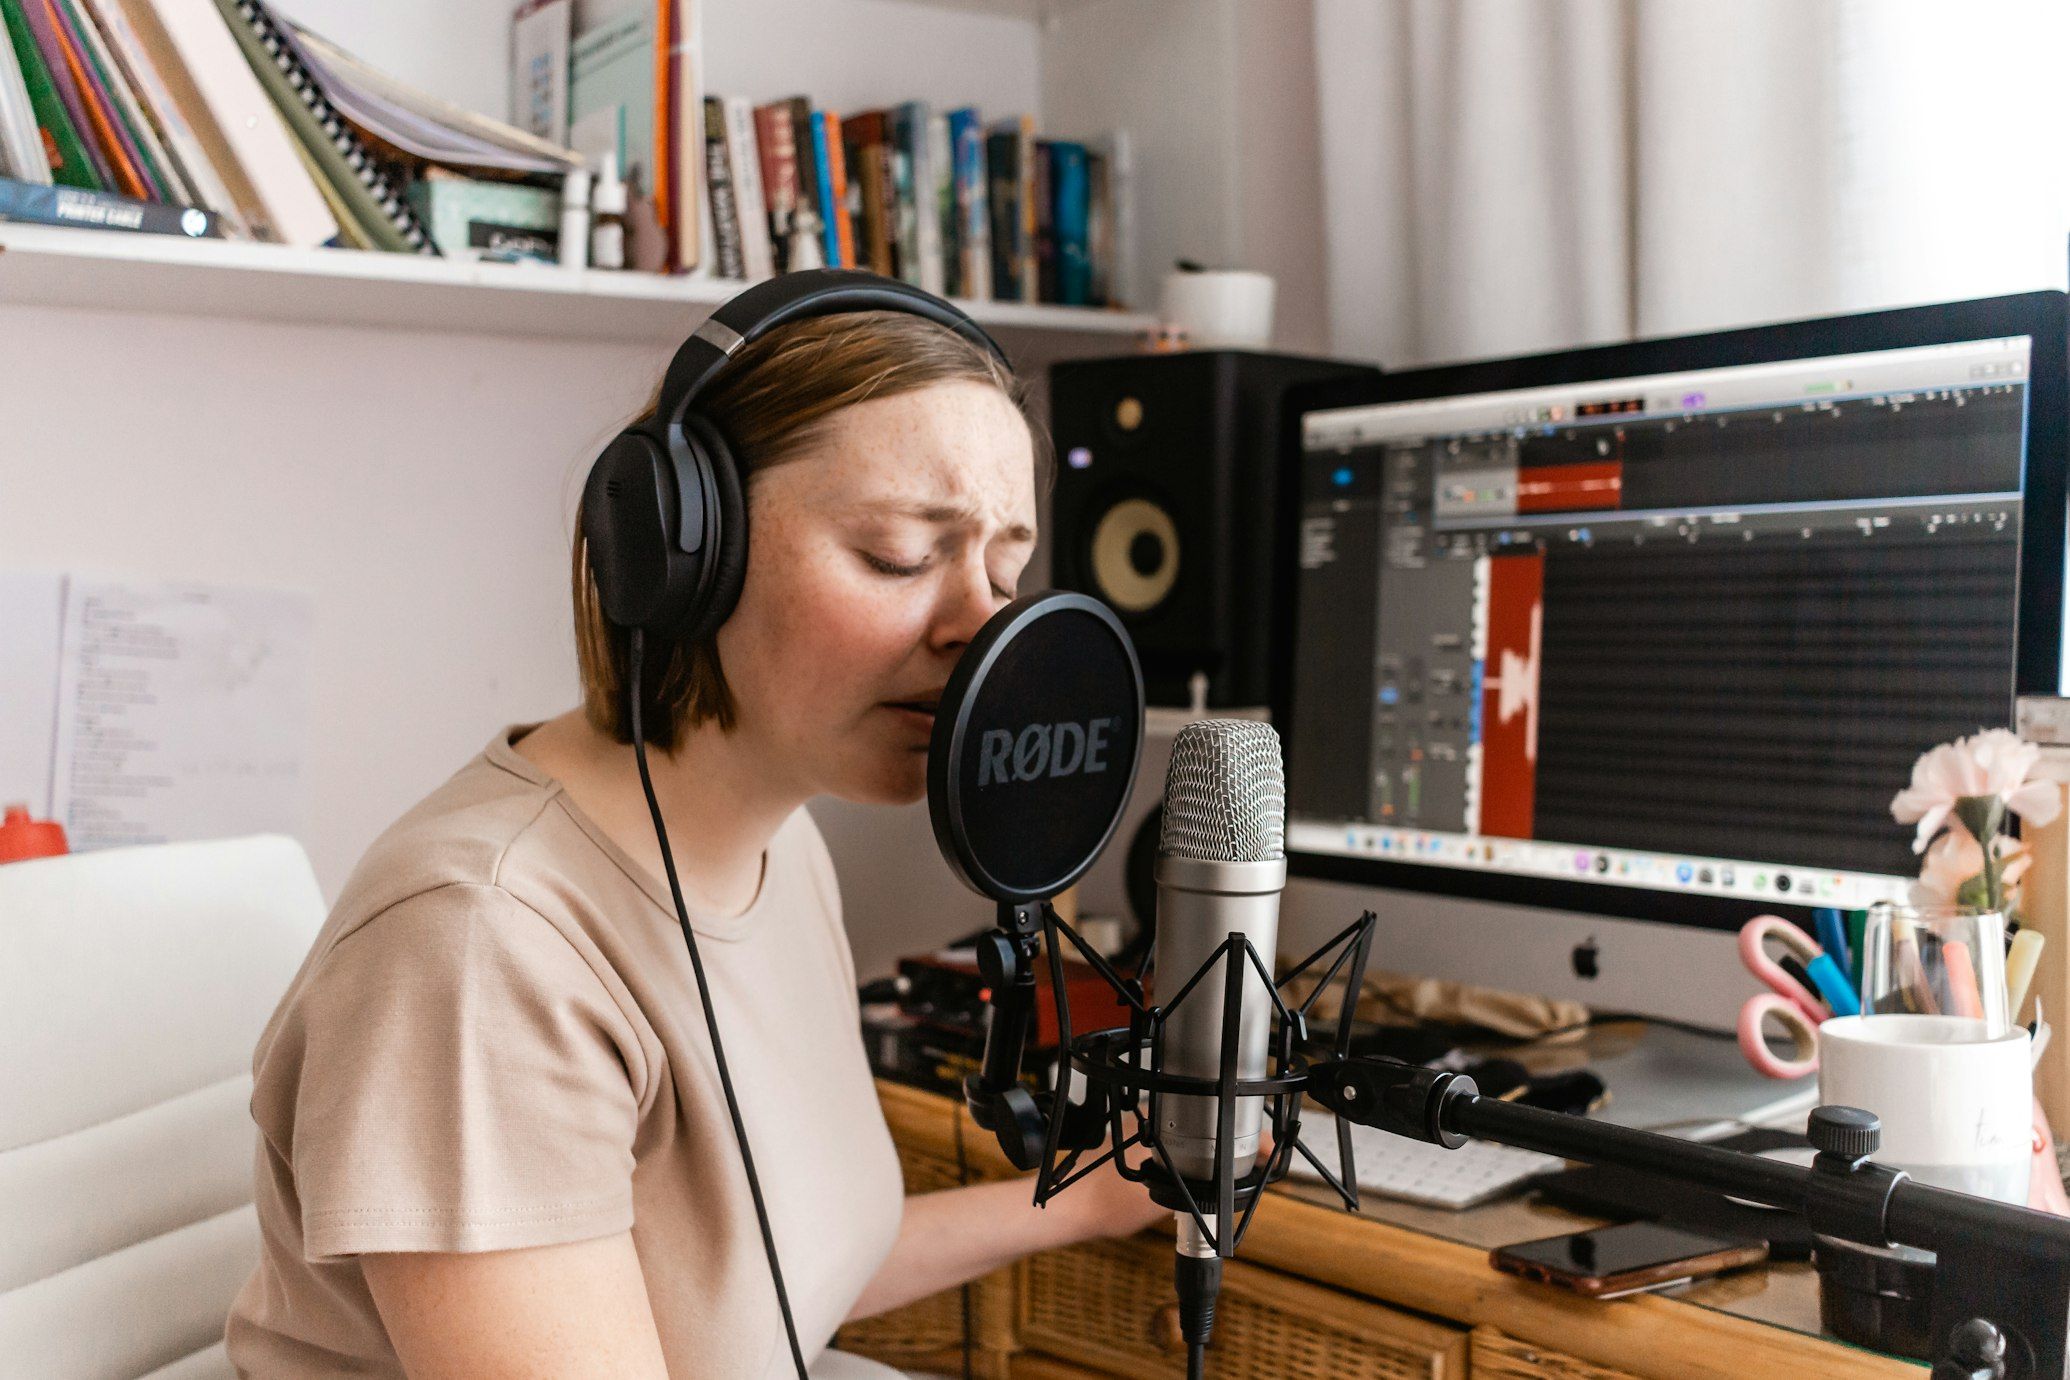
3. Position the Microphone Correctly
Mic placement is as important as the mic itself. Keep your microphone 15–30 cm (6–12 inches) away from your mouth for balanced sound. Use a pop filter or windscreen to soften plosive sounds (like “p” and “b”) and reduce harsh breathing noises. Small positioning adjustments can dramatically improve your recording’s clarity.
4. Use a Reliable Audio Interface
If you’re using a professional microphone (especially XLR), connect it through a quality audio interface. This device converts your analog signal into a clean digital format for your computer, minimizing noise and preserving detail. An interface with good preamps and low latency will ensure smoother, more natural-sounding audio.
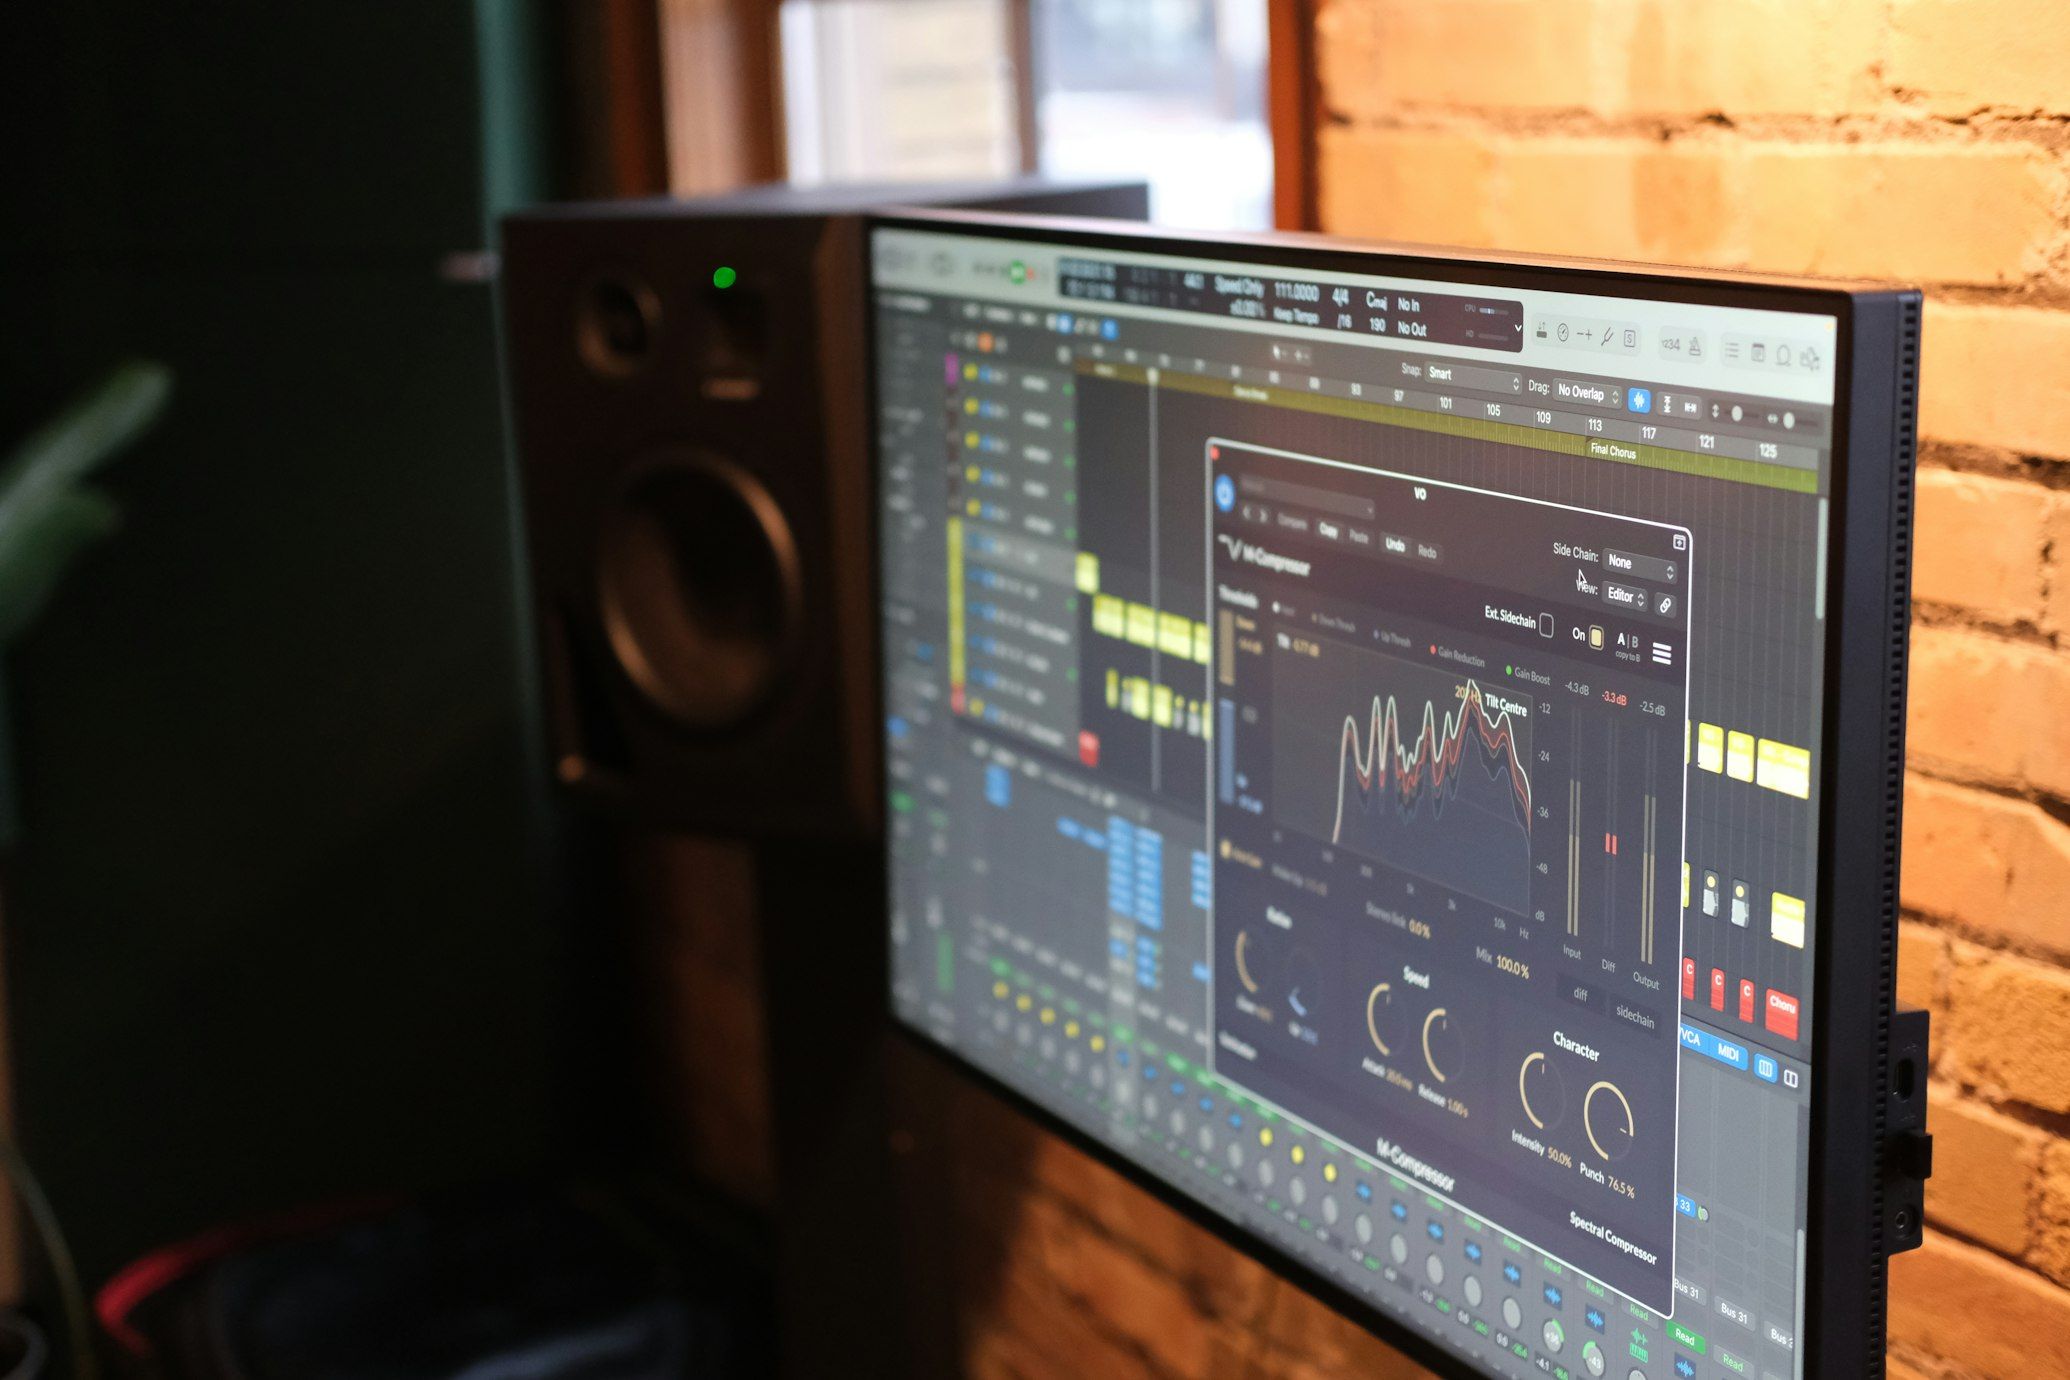
5. Edit and Polish Your Recordings
Once you’ve captured a clean recording, enhance it through post-production. Software like Audacity, Adobe Audition, Reaper, or Pro Tools lets you apply equalization (EQ), compression, and noise reduction. Be gentle — too much processing can make your audio sound artificial. Aim for subtle adjustments that maintain a natural tone.
Achieving professional audio quality is a combination of environment, equipment, technique, and thoughtful editing. By following these steps, you’ll create recordings that sound crisp, balanced, and ready for listeners anywhere in the world.
Essential Equipment for Better Sound Quality in Recordings
Investing in the right equipment is one of the fastest and most effective ways to improve the sound quality of your voice recordings. Whether you’re recording podcasts, interviews, music, or online content, these key tools will help you achieve clear, professional audio from anywhere in the world.
1. Choose the Right Microphone
A high-quality microphone is the foundation of great sound. There are several types available, and each serves different recording needs:
- USB microphones are ideal for beginners — they’re affordable, easy to set up, and work directly with most computers.
- XLR microphones provide higher fidelity and are preferred for professional recording setups. These require an audio interface, but the improvement in detail and warmth is worth it.
Experiment with a few options to find the microphone that best captures your voice or instrument in your recording environment.
2. Use a Pop Filter to Reduce Unwanted Noise
A pop filter is a simple but essential accessory that sits between your mouth and the microphone. It helps minimize harsh plosive sounds — like “p” and “b” — that can cause distortion. This small addition produces cleaner, smoother recordings and is especially useful for podcasts and vocal sessions.
3. Treat Your Recording Space
Even the best microphone can’t compensate for a poor acoustic environment. To minimize echo and background noise, apply basic acoustic treatment to your space:
- Use foam panels, curtains, rugs, or diffusers to absorb or scatter sound reflections.
- Record in smaller rooms with soft furnishings rather than open, empty spaces.
A few small adjustments can dramatically improve the clarity and warmth of your recordings.
4. Monitor with Quality Headphones
Good studio headphones allow you to hear your recordings accurately and make adjustments in real time. They reveal details that ordinary earbuds or speakers might miss, ensuring that your sound is balanced and consistent across different playback systems.
5. Use a Reliable Audio Interface
An audio interface (or external sound card) converts your microphone’s analog signal into a clean digital signal for your computer. A high-quality interface ensures low noise, accurate conversion, and stable recording levels, helping you preserve every nuance of your voice or instrument.
While equipment plays a vital role in achieving better audio, it’s only part of the process. Your recording environment, microphone placement, and post-production skills also make a big difference. With the right tools and careful setup, you can consistently produce crisp, professional-quality recordings — no matter where you are.
Common Mistakes to Avoid for Crystal-Clear Audio Recordings
When it comes to recording audio, even small oversights can greatly affect your sound quality. By learning to recognize and avoid common mistakes, you can ensure your recordings are crisp, balanced, and professional every time.
1. Skipping the Equipment Check
Before you hit record, always test your equipment. Make sure your microphone is working properly, cables are connected securely, and levels are set correctly. A poorly positioned mic can introduce echo, distortion, or unwanted background noise. As a general rule, place your microphone close enough to the sound source to capture clarity, but not so close that it causes distortion or plosive bursts.
2. Ignoring Storage and Power Levels
Few things are more frustrating than a great take ruined because your device ran out of storage or battery. Always check that your recorder, laptop, or interface has sufficient space and a full charge before you start recording.
3. Recording in a Noisy Environment
Background noise is one of the biggest enemies of good audio. To achieve clean, professional sound, choose a quiet, echo-free space. If you’re recording at home, switch off fans, air conditioners, and other appliances. Close windows to block outside sounds, and silence your phone or notifications to avoid interruptions.
4. Overlooking Room Acoustics
The acoustics of your recording space play a huge role in sound clarity. Hard surfaces reflect sound and cause echo, while soft materials absorb it. To improve acoustics, use simple materials like carpets, curtains, rugs, or acoustic foam panels. These reduce reverb and help your audio sound more natural and focused.
5. Using Low-Quality Equipment
While smartphones and built-in computer mics are convenient, they can’t match the depth and clarity of dedicated microphones and audio interfaces. Investing in good recording gear — including a quality mic, pop filter, soundproofing materials, and headphones — will instantly elevate your recordings and make them far more enjoyable for your audience.
Avoiding these common recording mistakes can dramatically improve your audio quality. Always check your equipment, choose a quiet recording environment, pay attention to room acoustics, and invest in reliable tools. By following these simple yet effective steps, you’ll be able to produce crystal-clear, professional-grade recordings no matter where you are in the world.
Advanced Tips and Tricks for Superior Audio Quality
Once you’ve mastered the basics, there are several advanced techniques that can take your recordings from good to truly professional. These tips may require a little more time, effort, and investment, but they can significantly enhance your audio quality and make your recordings sound polished and engaging — no matter where you are.
1. Upgrade to a Professional Microphone
Your microphone is the heart of your recording setup. While USB microphones are great for beginners because they’re easy to set up and provide solid sound, XLR microphones deliver a noticeable leap in quality. Although they require an audio interface or mixer, XLR mics capture a wider dynamic range and more natural tones, making them ideal for professional podcasting, music production, and voiceover work.
2. Improve Your Recording Environment
The space where you record is just as important as your equipment. Background noise and echo can easily degrade even the best recordings. To achieve clean, balanced sound:
- Choose a quiet, echo-free room for recording.
- Use acoustic panels, foam, carpets, or curtains to reduce reverb and background reflections.
- Record in a furnished room instead of an empty one — soft materials help absorb unwanted sound.
Even if you can’t fully soundproof your space, small adjustments can make a big difference. A better environment not only improves listening quality but also enhances AI transcription accuracy when you convert your recordings to text.
3. Use Professional Audio Editing Software
Post-production editing is where your audio truly shines. Software tools help remove background noise, balance volume levels, and fine-tune overall clarity.
- Audacity is a great free option for beginners.
- Adobe Audition, Reaper, or Logic Pro offer advanced features for professional-grade results.
Learn basic techniques like EQ (equalization), compression, and noise reduction to bring out the best in your recordings. Subtle, thoughtful edits can make your audio sound more dynamic and natural.
4. Monitor Your Audio in Real Time
Always monitor your recording as you go to catch issues early. Use closed-back studio headphones, which prevent sound from leaking into your microphone. Monitoring in real time lets you immediately fix volume spikes, mic pops, or background noises — saving you time in editing later.
Achieving studio-quality sound isn’t just about expensive gear — it’s about understanding how every element of your setup works together. From microphone selection and room acoustics to live monitoring and careful post-production, every step contributes to clear, consistent, and professional audio.
With these advanced audio recording tips, you’ll have the tools and knowledge to create recordings that sound refined, engaging, and ready for any platform — anywhere in the world.
Frequently Asked Questions
Are audio to text tools safe?
Audio to text tools are safe as long as the platform provides high security and privacy standards. Look for tools that are fully GDPR and SOC 2 compliant to ensure they use high standards when processing, managing, and protecting your information.
Can you get good results with free audio to text tools?
Free audio-to-text tools can work, but they will have limitations. Many free tools will limit how many minutes you can transcribe per month, how many team members you can add to your account, how much you can customize the outputs, and more. It can lead to a lot of restraints if you’re trying to produce a high volume of content and want to ensure the best results.
Is using audio to text software worth it?
Using an AI audio-to-text tool is worth it for businesses and professionals producing high-volume content. It saves a lot of time compared to manual transcription and makes it possible to produce content in multiple languages at scale. However, it’s essential that the tool you choose is accurate, offers enough language support, and provides an efficient workflow to achieve the best results.
Can you transcribe audio to text as a beginner?
Yes, many of the tools listed in this article are beginner-friendly. In most cases, content teams and businesses will want a tool that is easy to use since it’ll help more team members start using it and integrating it into their workflow for more efficient content output.
What are the 5 major audio to text tools?
5 popular audio-to-text tools are HappyScribe, Otter.ai, Notta, Fireflies.ai, and MeetGeek. Each of these AI tools can generate transcripts from audio in minutes, helping with efficient content production.
Out of these options, HappyScribe stands out as a top choice because of its verified accuracy of 95% on AI-only outputs and 99% with expert proofreading, support for 150+ languages, high security and privacy standards, and several advanced features that create a smooth workflow.

Niek Leermakers
Niek is a former tech journalist who swapped his pen for a Google Analytics in 2015 account and has been working in content marketing ever since. He really loves writing for Happy Scribe about media localisation and AI!